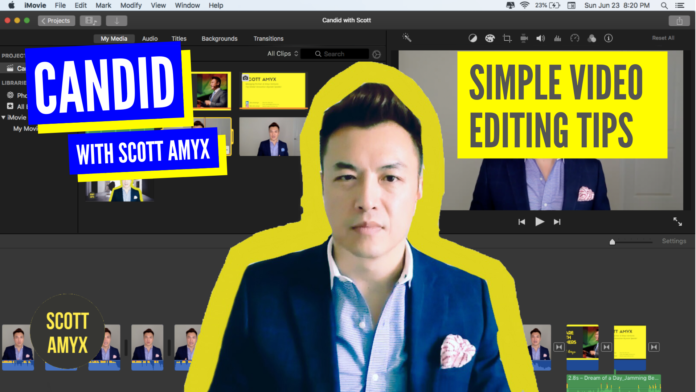
I can spend hours on the science behind video thumbnails, color palette, subtitles and video editing but there are plenty of YouTube tutorials out there. Rather, I want to give you a quick rundown on my process, which by the way is continuously changing per my previous episode. Taking an Agile approach, I wanted to create a process so that anyone could do it.
First, I import in the raw video files into iMovie, the default app on my MacBook. Then I find a video frame that shows the greatest emotion. For me, it’s slim pickings because I’m such an extrovert!
For the video thumbnail, I do this in Canva. You can see that I have already created templates for my different shows. What I need is to grab the episode title that will be transparent over my video.
I AirDrop the files to my iPhone. For my photo, I import it into PS Express to apply a filter. Then I bring that image into Pixlr to draw the color outline. Then I bring that image into Photoshop Mix to create a transparent png file. I do the same thing with the title image.
I AirDrop the processed files back to my laptop. I import my video image into Canva to finish the video thumbnail. I then go back into iMovie to import in the video thumbnail and transparent title slide.
A few adjustments and voilà, it’s almost done. In the next episode I’m going to talk about my favorite, favorite step — adding subtitles.
Don’t forget to subscribe to Candid with Scott Amyx on YouTube and give it a thumbs up.


